How to Convert Images to PDF Without Losing Quality: A Step-by-Step Guide
In today’s digital world, maintaining the visual integrity of your documents is essential. Whether you are a photographer building a portfolio, an architect sharing blueprints, or a student submitting an assignment, you need to know how to convert images to PDF without losing quality.
Many online converters compress your files aggressively, resulting in blurry text and pixelated images. In this guide, we will show you how to preserve every pixel using high-resolution conversion techniques.
Why Do Images Lose Quality During PDF Conversion?
Before we dive into the steps, it’s important to understand why quality loss happens. Standard converters often fail due to:
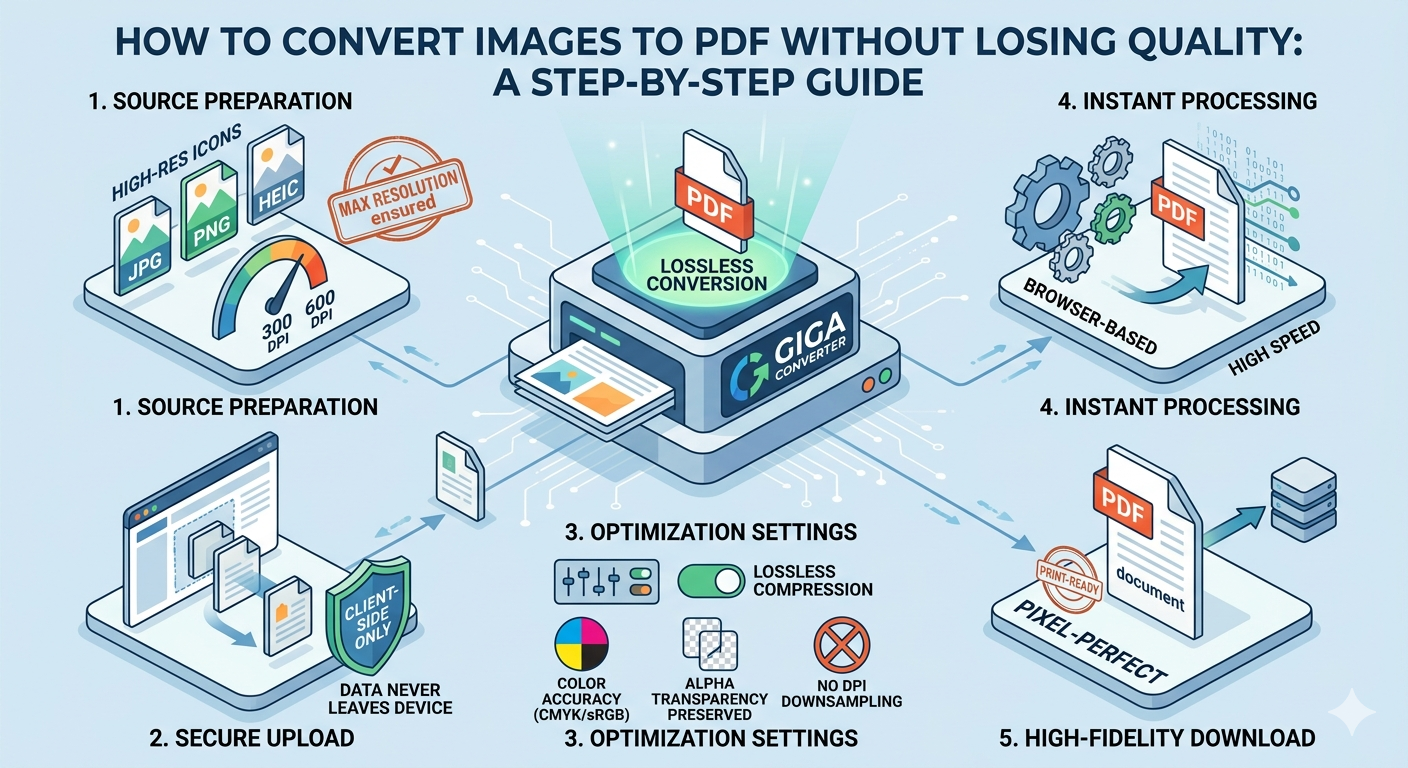
- DPI Downsampling: Reducing the "Dots Per Inch" from 300 (print quality) to 72 (web quality).
- Lossy Compression: Using JPEG algorithms that "smudge" details to save space.
- Color Shifting: Failing to maintain CMYK or sRGB color profiles.
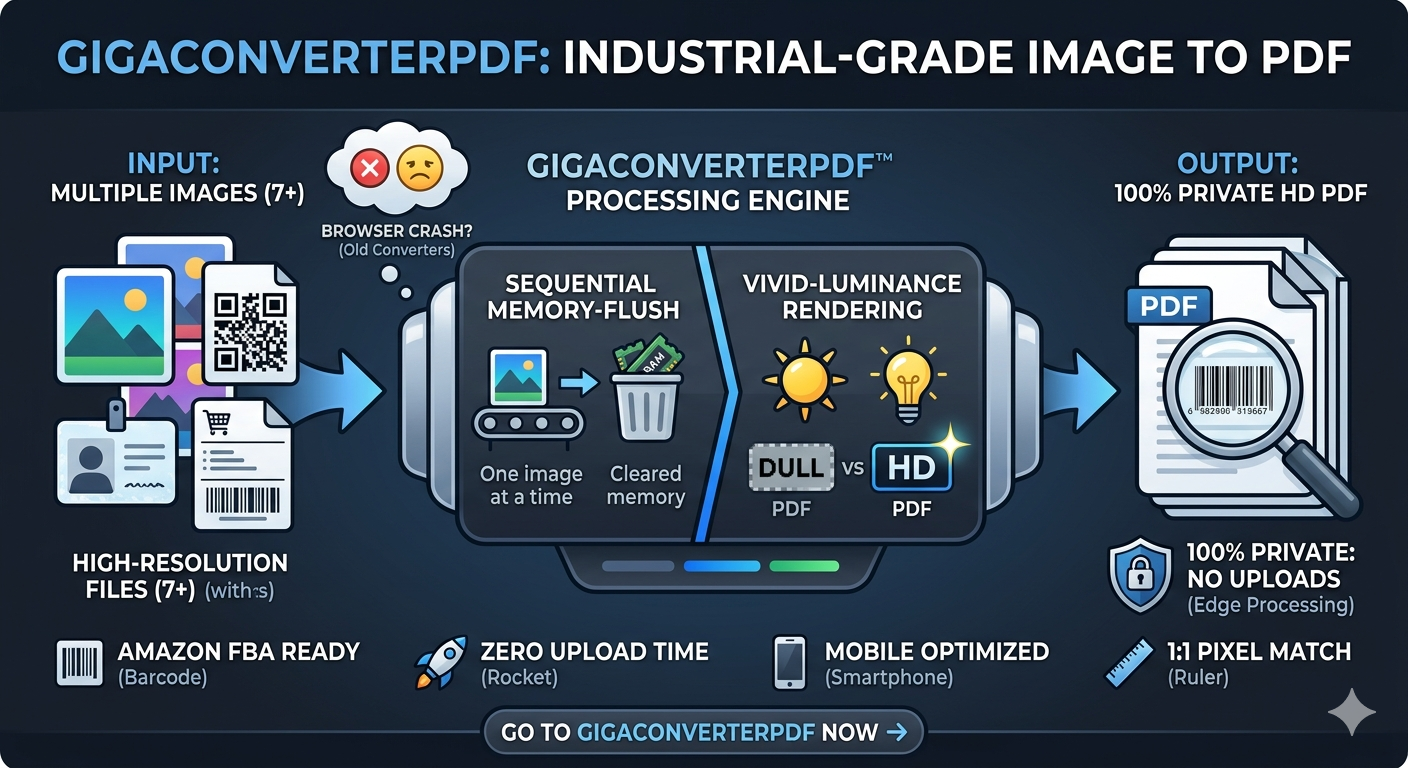
The Secret to High-Quality Conversion: Client-Side Processing
Most popular tools upload your files to a server, process them, and send them back. This often limits file size and quality. Giga Converter PDF uses client-side technology, meaning your computer does the work. This ensures your images are never compressed unless you choose to, and your data stays 100% private.
Step-by-Step: Converting Images to PDF (Lossless Method)
Step 1: Prepare Your High-Res Files
Start with the best version of your image. If you are preparing a document for print, ensure your source JPG or PNG is at least 300 DPI.
Step 2: Use a Professional Image to PDF Tool
Navigate to the Create PDF from Images Tool. This specific tool is optimized to wrap your image data inside a PDF container without altering the original pixels.
Step 3: Upload and Organize
Drag and drop your files into the converter. You can arrange them in the exact order you want them to appear in your final PDF document.
Step 4: Select "Original Size" Settings
To avoid quality loss, ensure you select "Match Image Size" or "Auto" for the page dimensions. This prevents the tool from stretching or shrinking your visuals to fit a standard A4 page.
Step 5: Convert and Download
Hit the convert button. Because the tool uses your browser's power, the conversion is near-instant and maintains 100% of the original clarity.
Pro Tips for Perfect PDFs
- For Text: If your image contains text, use the PNG format before converting to PDF to keep the letters sharp.
- For Photos: Use high-quality JPEGs to keep the file size manageable while maintaining color depth.
- Secure Your Data: Always use tools like Giga Converter PDF that process files locally to ensure your sensitive documents never reach a third-party server.
Conclusion
Converting images to PDF doesn't have to mean sacrificing quality. By choosing a tool that respects your original resolution and offers lossless conversion, you can create professional, high-fidelity documents every time.
Ready to start? Convert your images to PDF now and experience the difference in clarity!
Comments (0)
Leave a Comment